Start the Shift and Deliver Your Titanium
Use the Holo Table aboard the ship to start your first GRAVHOUNDS shift, then connect the Collector's Pipeline and place a Fabricator on its build node. Mine Titanium with the Mining Laser, pick it up with the Grav Beam, and feed it into the Collector's processor port or onto a connected Pipeline.
Use the Holo Table and Connect the Pipeline
After the opening sequence, follow the instruction to report to the Holo Table. Once you land, begin your setup at the Collector. Your immediate goal is a working base, so leave wider exploration until the opening construction tasks are complete.
- Use the Holo Table aboard the ship to begin the opening shift and reach the landing zone centered on the Collector.
- Find the Pipeline connector on the Collector. This is the starting point for your connected building space.
- Engage the connector with your Grav Beam so you can begin extending the Pipeline.
- Extend the Pipeline into the position requested by the tutorial, ready for placement.
- Confirm the Pipeline placement. Wait for the tutorial to acknowledge the connection and make its build node available.
Snap the Fabricator onto Its Build Node
- Enter Fabricator placement mode when the tutorial requests it. The connected Pipeline provides the position you need.
- Move the Fabricator over the highlighted build node until it snaps into place.
- Confirm the Fabricator placement to finish assembly and establish your source of build kits.
If you cannot place the Fabricator, check that the Pipeline connection was confirmed and its node is active. Positioning the building beside the pipe does not align it with a valid node. Holding the kit in placement mode also leaves the objective unfinished; complete the placement after it snaps into position.
Mine Titanium and Feed the Collector
The Resource Run asks you to locate Titanium, mine it, and deliver it. Breaking material out of a deposit is only the gathering part of that task. The material still needs to reach the Collector's collection system before you have completed the delivery.
- Follow the Titanium marker on your HUD to the requested deposit. Look around for the resource indicator if the compass alone is not helping.
- Use the Mining Laser on the deposit to break the Titanium free.
- Pick up the mined material with the Grav Beam so you can move it toward the collection system.
- Feed the Titanium into the Collector's processor port to deliver it directly.
An accessible connected Pipeline gives you another delivery route. Place the material onto it and let the transport system carry it back to the Collector. Successful deliveries provide build funds for defenses purchased through the Fabricator.
Fix a Titanium Delivery That Has Not Counted
Check where the Titanium landed before mining more. A throw toward the Collector can miss its processor, and a piece dropped beside the Pipeline has not entered its transport system. Use the Grav Beam from closer range to reposition the material, then watch it enter the processor or Pipeline.
If you lose the deposit marker, check the objective indicator and look around the deposit you were using. Keep gathering the material named by the tutorial. Mining unrelated resources will distract you from the delivery it is asking you to complete.
Build a Turret and Keep It Working
- Purchase the prompted Turret Build Kit at the Fabricator after your resource deliveries provide the build funds.
- Pick up the Turret Build Kit with the Grav Beam to prepare it for placement.
- Switch to placement mode so you can position the Turret on an available build point.
- Place the Turret at a build point where it can protect the Collector. It begins helping with defense after successful placement.
When the tutorial warns of enemy movement, open Drone View. Its overhead view marks nearby detected enemies in red, helping you identify the threatened approach. Support the defenses covering that approach instead of immediately running away from the Collector.
The Mining Laser also repairs damaged defenses. Aim it at a damaged Turret and use the repair interaction to restore the structure. Take advantage of the pause after a wave to repair your defenses before the next attack.
Prepare for Launch and Get Aboard
Start Launch Prep after completing the required resource and defense objectives, with nearby Turrets operational and damaged defenses repaired. Activating it begins another defense period while the Collector prepares to leave. Your priority remains protecting the Collector throughout the final attack.
- Activate a Launch Prep terminal at the Collector once your objectives and defenses are ready. This starts launch preparation.
- Defend the Collector while its engines warm up and the final enemy wave attacks.
- Board the Collector as soon as the game announces that it is ready to launch, so you are aboard before liftoff.
Finishing the defense does not complete boarding: you still need to get aboard and remain there until departure. Players can stay outside fighting or building while the countdown continues. Once called back, leave unnecessary resource gathering and extra Turret placement behind and focus on extraction.
Watch the Developer's Pipeline and Boarding Walkthrough
Yes—the developer walkthrough linked below shows the Collector setup, Pipeline construction, Fabricator, and departure sequence. Its mission involves recovering an artifact, which is separate from your tutorial's Titanium objective. Use those scenes to follow the building and boarding flow while keeping your own objective prompts in view.
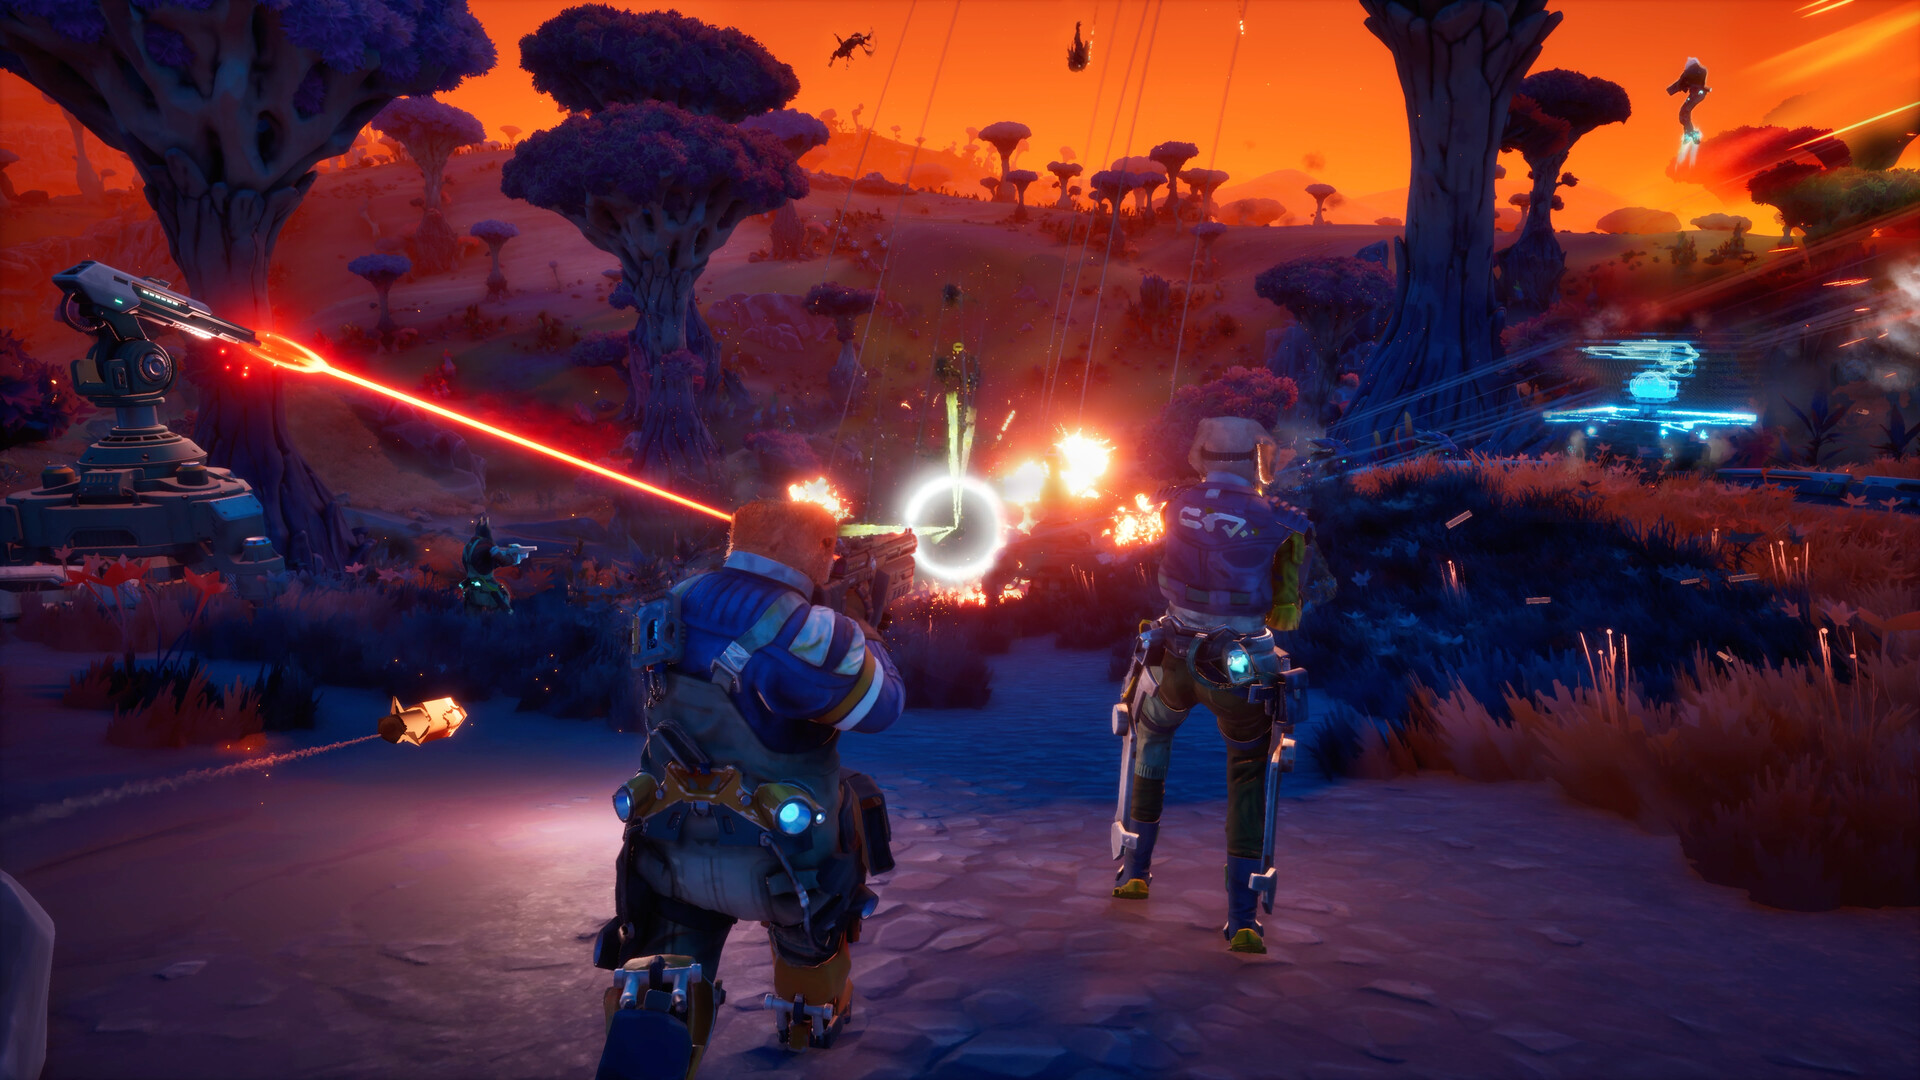
Watch the Collector setup at 0:39 and Pipeline construction at 0:45 in the developer walkthrough.Playing this video connects to YouTube.
Watch the Fabricator demonstration at 0:52–1:00 to see how it follows the Pipeline setup.Playing this video connects to YouTube.
Watch the final defense at 3:19–3:34, then the boarding and departure at 3:47–3:49.Playing this video connects to YouTube.